Back Office
The Back Office page is where the the account owner and the administrators can manage their NPOHarmony webpage. You can create new announcements, mass notify the users, set up E-news, manage the users and manage user groups.
Announcements
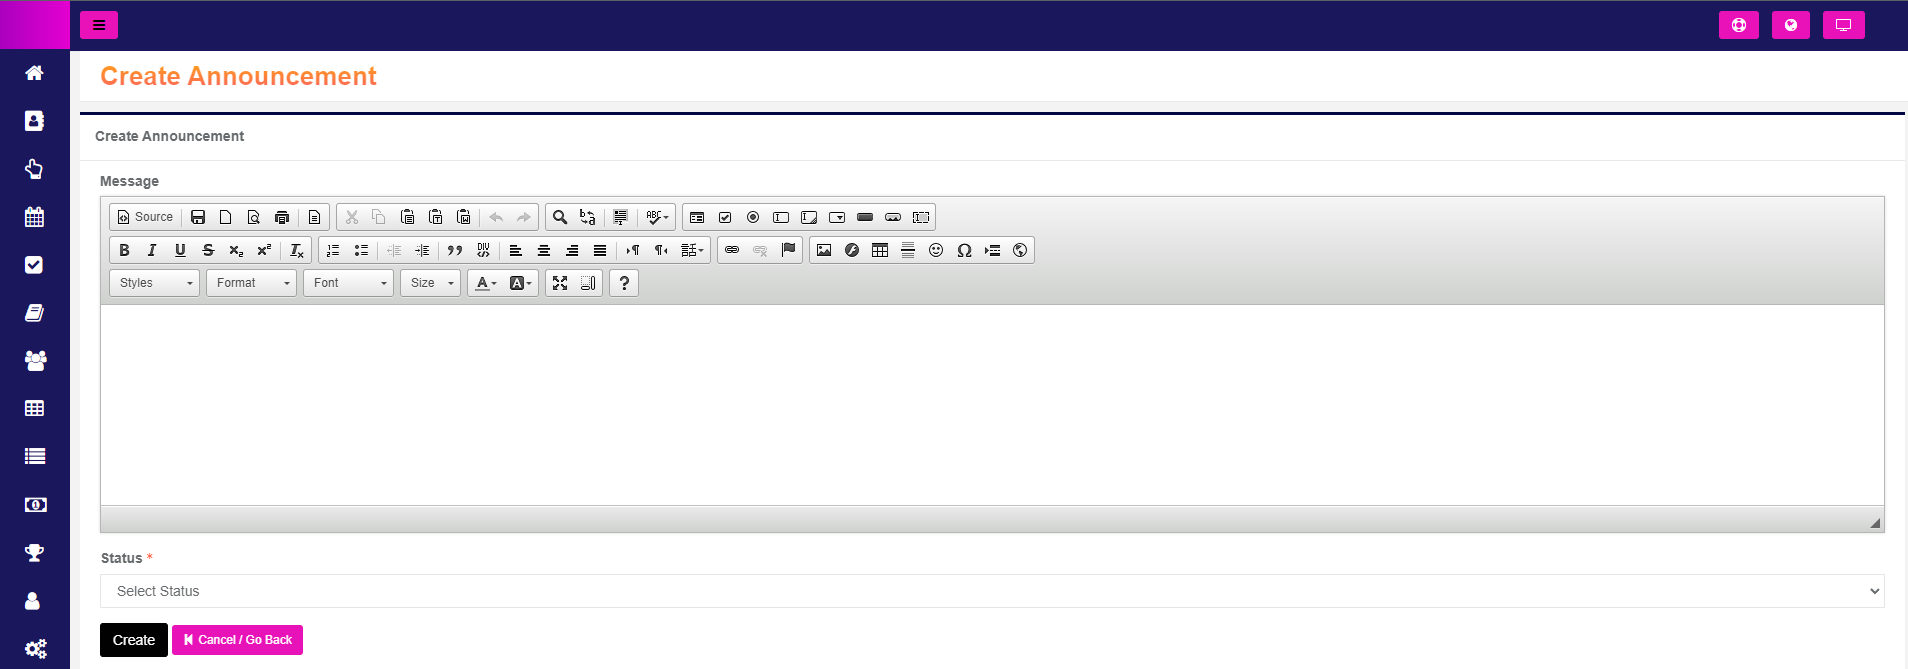
Announcements can only be posted by the administrators and account holder. These can be displayed in the Dashboard page of the webapp.

To create a new announcement, all you have to do is click the "+Add" button. A text box will appear. There you can type out your announcement with different fonts and styles. Full customize the announcements any way you want. Once completed, click the "Create" button and the announcement will automatically be posted.

Mass Notify
Mass Notify under the Back Office tab is similar as Announcements. The difference is that Mass Notifications can be sent to text or email. These messages can be sent directly to the users for more urgent messages.
You can create a Mass Notification by pressing the "+Add" button, same as Announcements. Then you are able to type out your message. You can choose to send a message out via text or email by clicking the boxes below. You can also choose to post this message on the Dashboard of all members. That way you can send the message out in three different forms or all three at once.

eNews
The eNews tab is where you can create news articles or weekly bulletins for the members of your church. Read More about Mass Communications here.
Manage Users
Manage Users is where the Account Owner and Administrators can manage existing or create new members.
Setup Custom Profile Fields
Access your custom profile field settings to ensure your various custom fields that will accept member data is setup in advance. You can access this by clicking on the "Back Office" left menu item and select "Manage Profile Fields".
Import Users (Members)
Access the "Back Office" left menu item and select "Manage Users". This screen will display the current users (member profiles) in your account. A user account needs to be created for every member you are going to track as the 'user' has the ability to update their information at any time should they chose to do so. This is useful in your team managing their own data and directory / profile information.
- Click 'Add User' to add user one at a time. As you create each record, the user will be sent an email with their login credentials and welcoming them to the system.
- Click 'Import Users' to upload a csv file of your member data. You can use any valid .csv file of data to import your members. It is important that you've already created your custom profile fields in the step above so that you can 'map' your csv data to these fields.
- Browse for and select your .csv file from your local PC or device.
- Permissions. Set the permissions (user type) that your import should be. If you will have users within each user type, you will need to split up your uploads so that each upload saves the users as the chosen user type.
- Administrator - This user can access everything in the system except Back Office -> Manage Account and Billing Invoices. An admin may be a 'Group Leader' and thats ok! Admins are trusted to be able to do anything within the system, so they'll be available to be chosen and set as Group Leaders when managing groups.
- Group Leader - This user has the rights to manage administrative tasks within Groups.
- User - The basic user right with no administrative tasks throughout the system. This will be the majority of your users.
- User Account (Field Mapping) - select the various fields to map your data to these fields. Note: Is Parent allows the user to access groups within their family unit of their family members. Useful for following children or sibling activity or tasks if needed.
- User Profile (Custom Fields) - associate your custom profile fields you've created to the fields in your csv file.
- Click Save. This will read through your csv file and import the users. Each user will be sent an email with their login credentials and welcoming them to the system.
- Note: Email addresses and usernames must be unique. If the system detects the email address or username is already in use (even if outside of your account), the user will not be imported.
Manage Group Leaders
You can manage group leaders by clicking on that tab. Here, you can choose any group and add or take away group leaders.
Click on the Group you would like to change the leaders for. You can the use the drop downs and add anyone that is a user in the program of your church to be a Group Leader. You can also choose up to 6 group leaders for one group.

No questions yet.


